Approving and Rejecting Jobs
1. Access Pending Approval Jobs
-
Log in to the IronSight web portal.
-
Go to the Jobs tab.
-
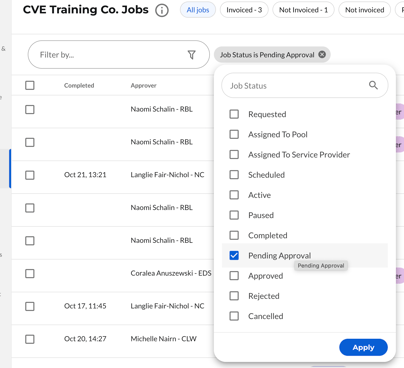
Use the Filter option to set Job Status = Pending Approval.
-
These are all the jobs submitted by service providers and awaiting review.

-
2. Open and Review Job Details
-
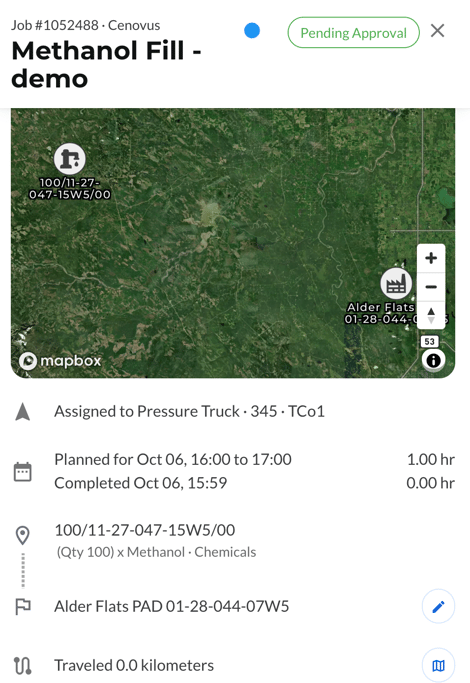
Click on any job in the list to open it.
-
Review the following key details:
-
Job summary: requester, division, cost codes, and approval level.
-
Driver submission: pickup and drop-off locations, executed hours, gps bread crumbs on the map and route details.
-
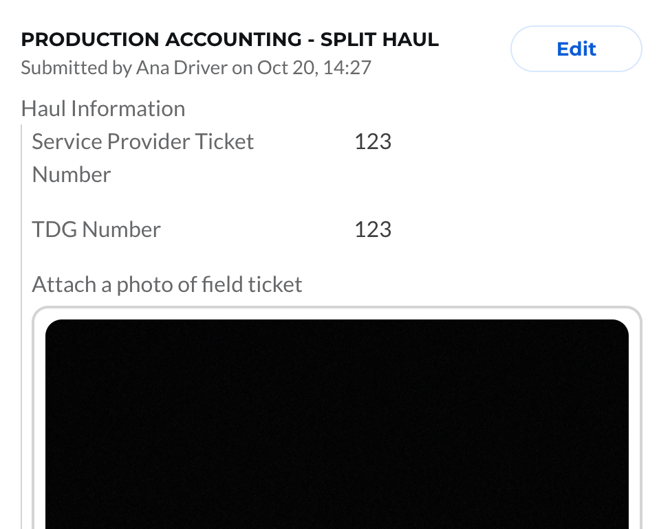
Form attachments: review the driver’s completed job form for accuracy and completeness.
-
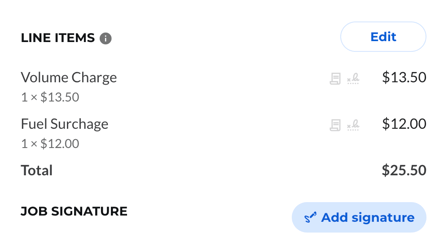
Line items: confirm that charges and quantities match what was actually performed.
-
-
Cross-check billing details such as:
-
Cost center, GL code, and approval path.
-
Line item pricing and quantities.
-
Supporting documentation (photos, notes, etc.).
-
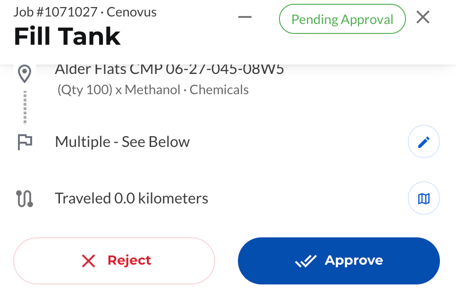
3. Approve a Job
-
Once verified, click Approve.
-
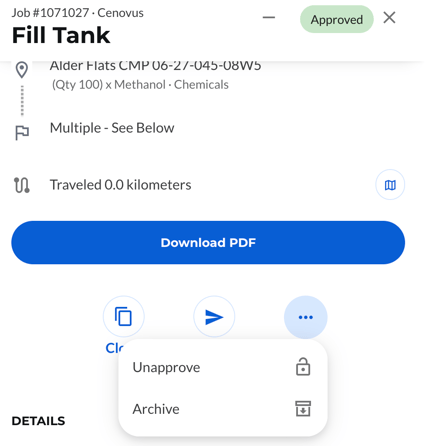
The job status will automatically change from Pending Approval to Approved.
-
The service provider will now see the job as Approved in their IronSight account.
-
The job’s approval details—including cost objects, GL codes, and approver—will be stored in the digital record and can be included in billing exports.
- You can also Unapprove approved Jobs by clicking the more button followed by the "unapprove" option.
4. Reject a Job
-
If the job contains errors, missing information, or incorrect data, click Reject.

-
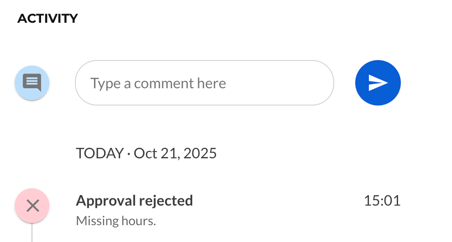
You will be prompted to enter a Reason for Rejection.
-
Clearly describe what needs to be corrected (e.g., missing scale ticket, wrong cost code, incorrect hours).

-
-
Once submitted:
-
The job will return to the service provider as Rejected.
-
The rejection comment will be visible to them, so they can correct and re-submit the job for approval.
-
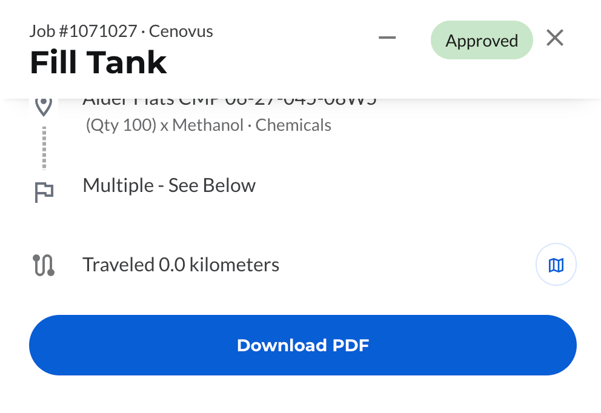
5. After Approval
Once approved, service providers can download a Job PDF (Digital Ticket) from their side.