How to Add/Manage Locations
This is where you’ll add work sites that are relevant to your field services. During implementation, IronSight typically bulk imports your location list. When you need to add or manage other Location(s) follow the steps below:
Locations can be Added in multiple places:
- Admin Portal
- Map
- Jobs - on the fly
Important Note: Only admins can create locations. Coordinators can edit location status and description.
Managing Locations in the Admin Portal
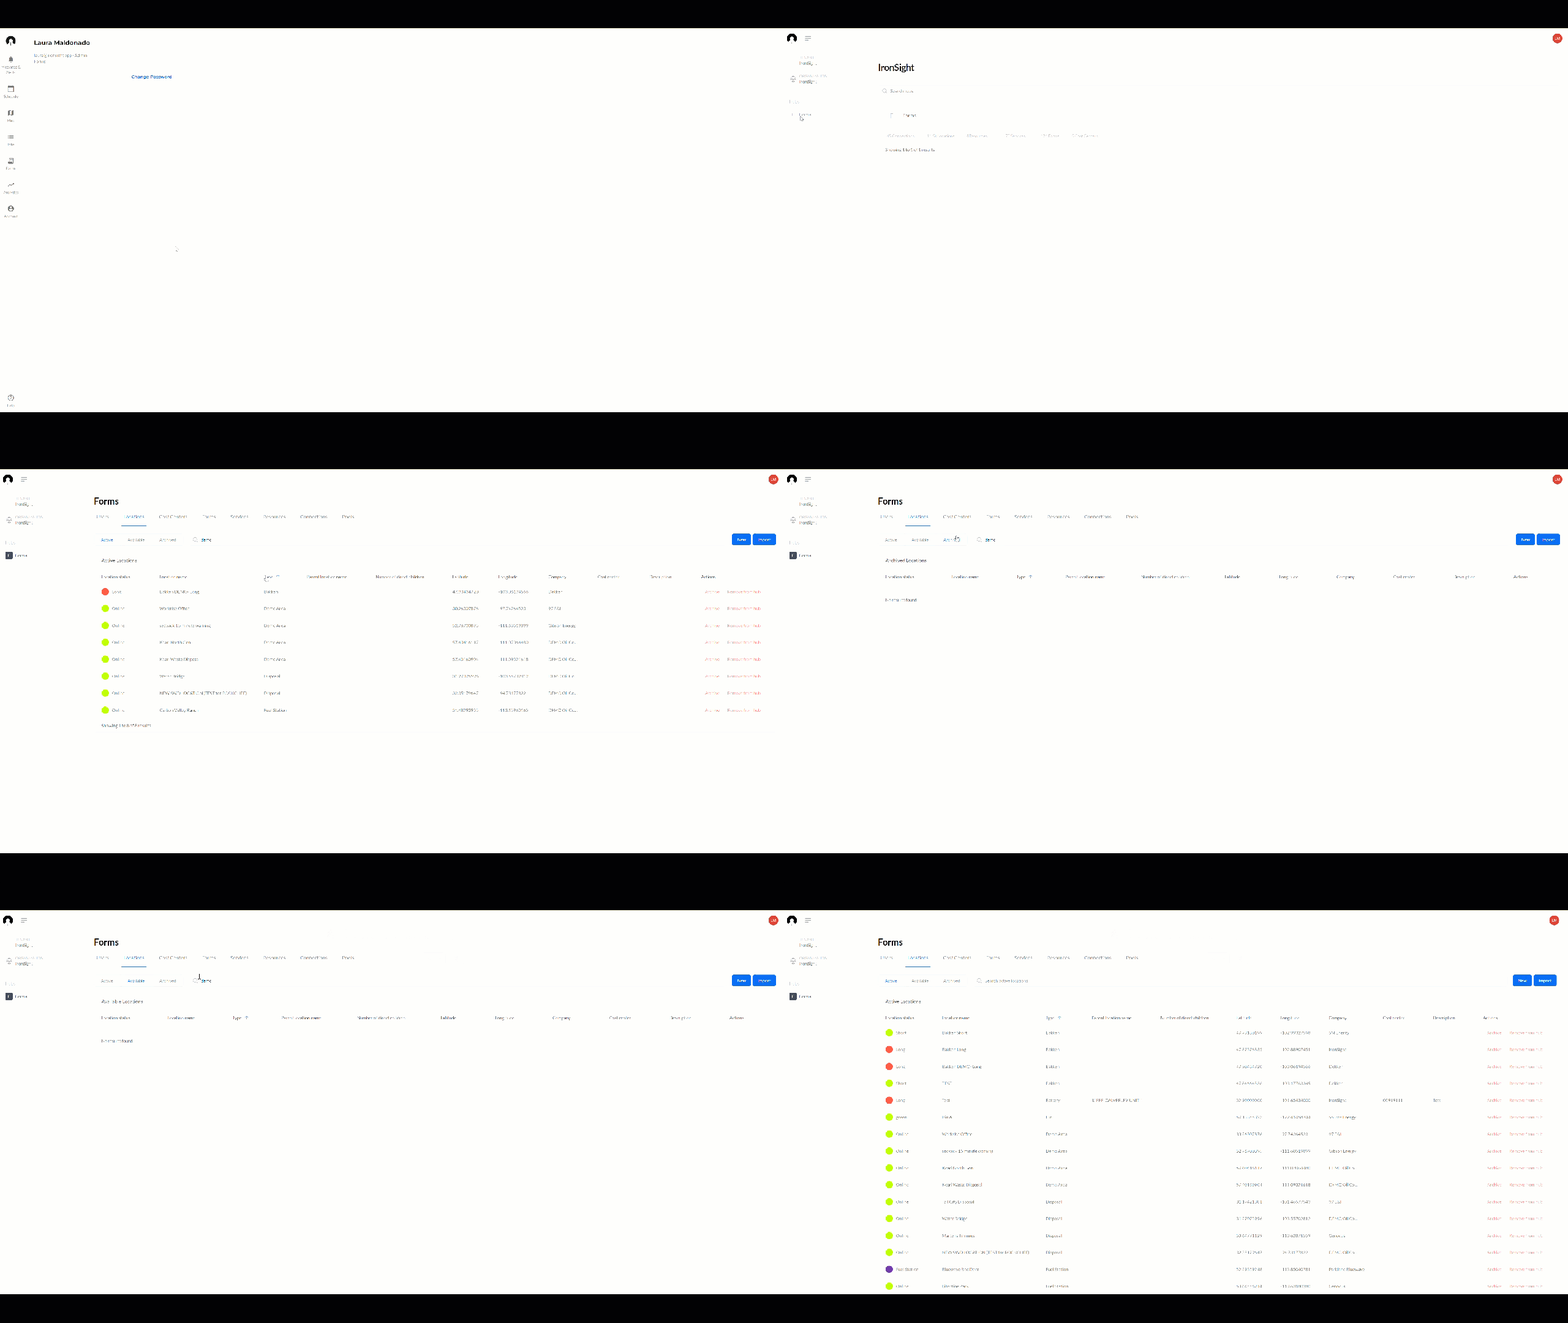
- Click on Account and select Admin Portal
- Select the hub
- Visit the Locations Tab
- In the Search bar, start typing part of the location name
- Toggle between Active, Available or Archived to ensure it doesn't exist elsewhere
- Active: In Use within your Hub
- Available: In Use in Another Hub
- Archived: Not In Use
- Click on Column Headers to change the sort order

- Click on Location
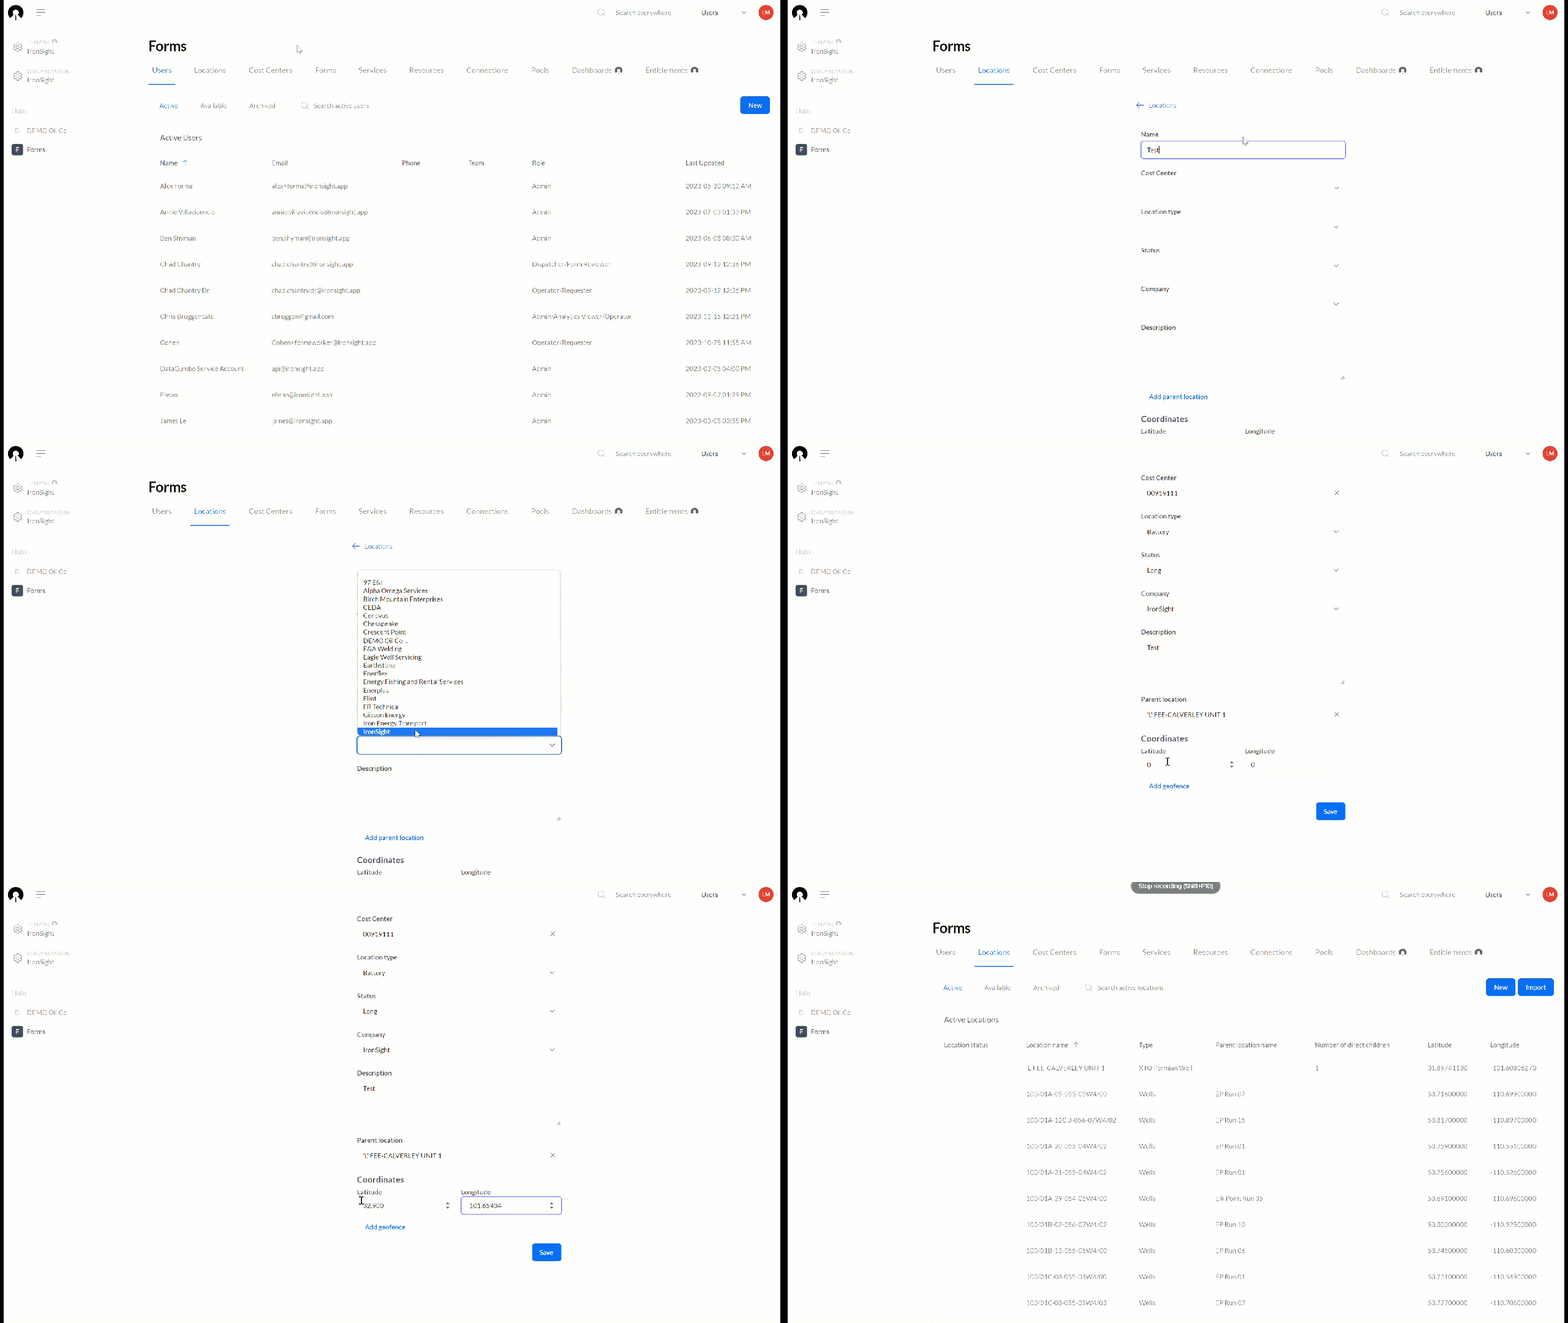
- Click New
-
Enter a Location Name
- Optional: Cost Center. Associating a Cost Center will default cost centers for any jobs to this location. Tip: you need to create each Cost Center separately, before associating them to a location.
- Choose Location Type.
-
Indicate status (Optional)
-
Select a Company: Indicates which organization owns the Location, it may be your company or it could be a partner company.
-
Description (Optional). Field Workers can access this information if they click on the location on their device.
- Add a Parent Location (Optional). If you have a hierarchy set up, choose where this would fall beneath in your hierarchy.
- Add Latitude and Longitude coordinates. If you do not have the coordinates, click this video to see how you can add a location to IronSight with a little help from Google Maps.
- Add a Geofence radius (Optional). If not selected, IronSight applies a default geofence to every location.
- Tags are optional and can be created at the time of adding a location.
-
Click Save


Adding Locations on the Map
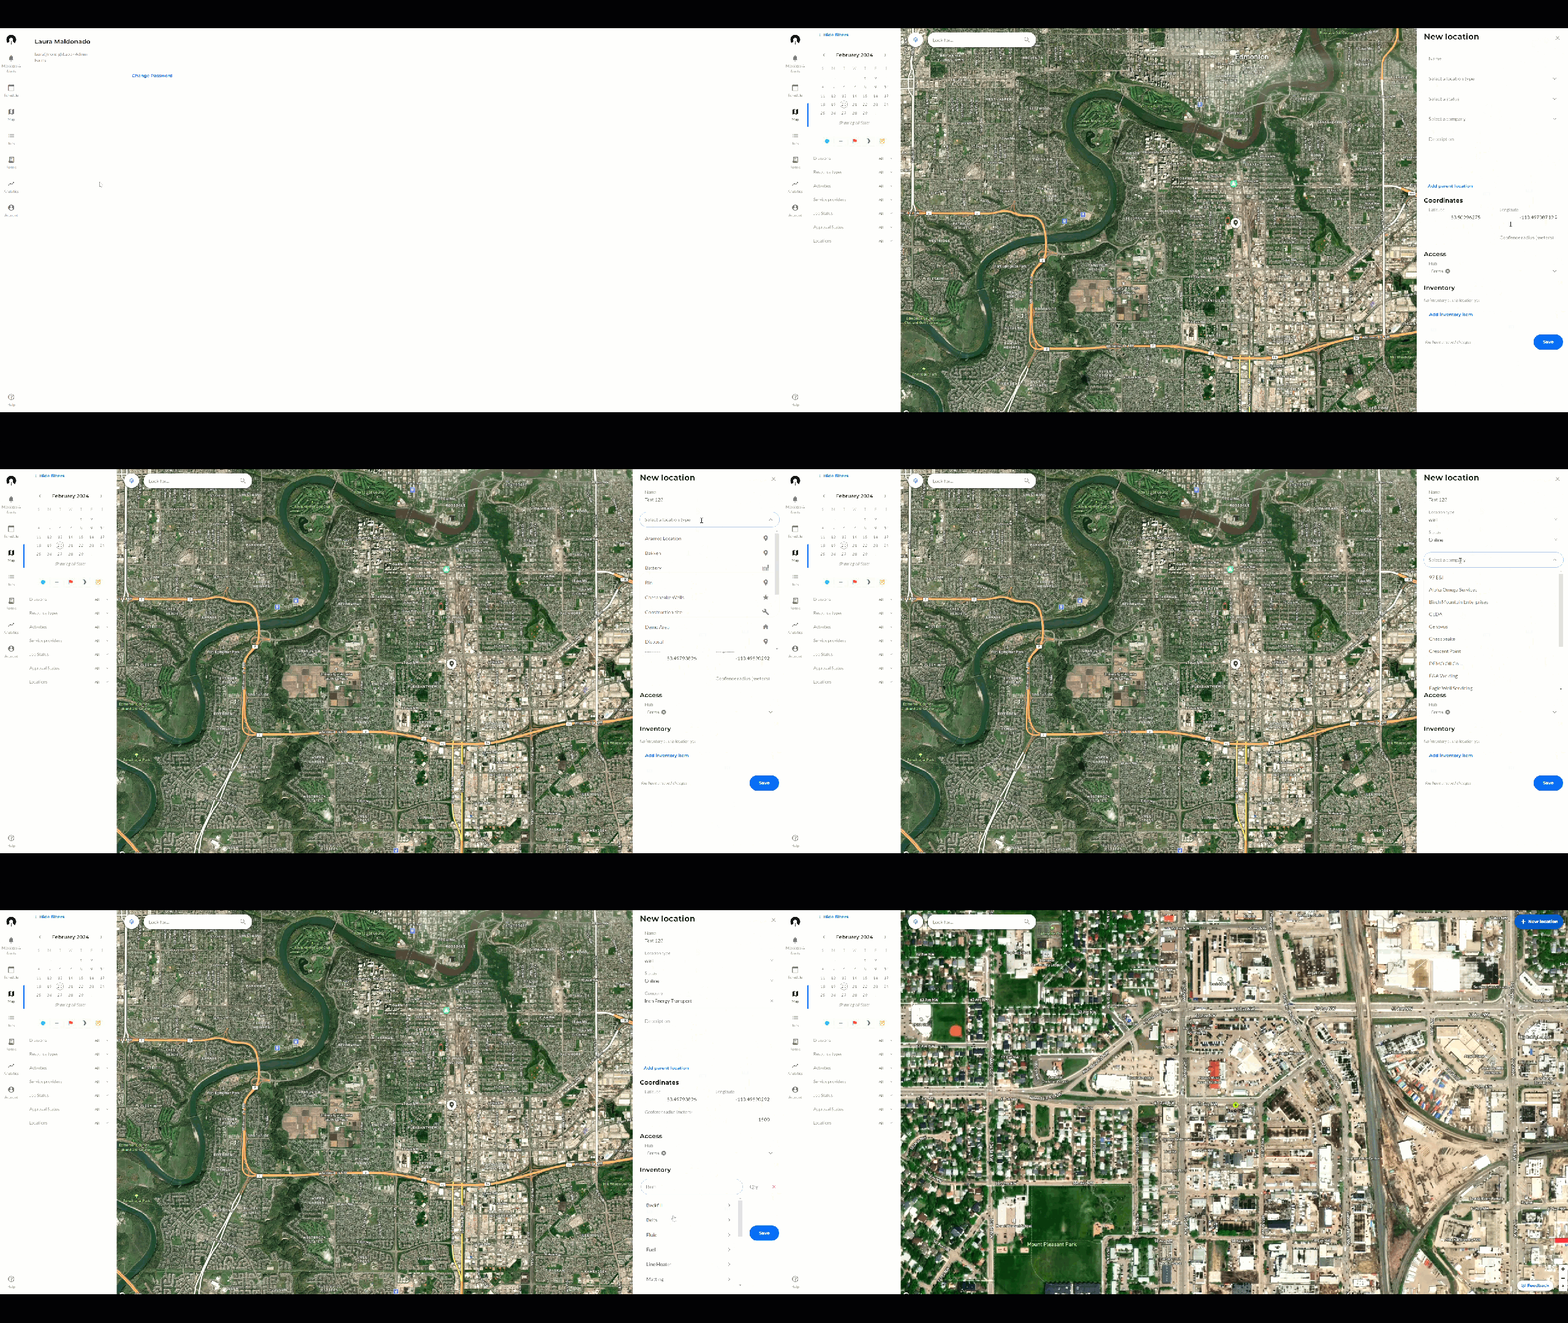
- Click on the Map tab
- Right-click on a spot in the map then click on "New location here", or click on "+New location"
- Enter a Location Name
- Choose Location Type.
- Indicate status (Optional)
- Select a Company: Indicates which organization owns the Location, it may be your company or it could be a partner company.
- Add a Description (Optional). Field Workers can access this information if they click on the location on their device.
- Add a Parent Location (Optional). If you have a hierarchy set up, choose where this would fall beneath in your hierarchy.
- Add Latitude and Longitude coordinates. If you do not have the coordinates, click this video to see how you can add a location to IronSight with a little help from Google Maps.
- Add a Geofence radius (Optional). If not selected, IronSight applies a default geofence to every location.
- Add inventory items for this location (optional)
- Click Save

Adding locations when creating a job
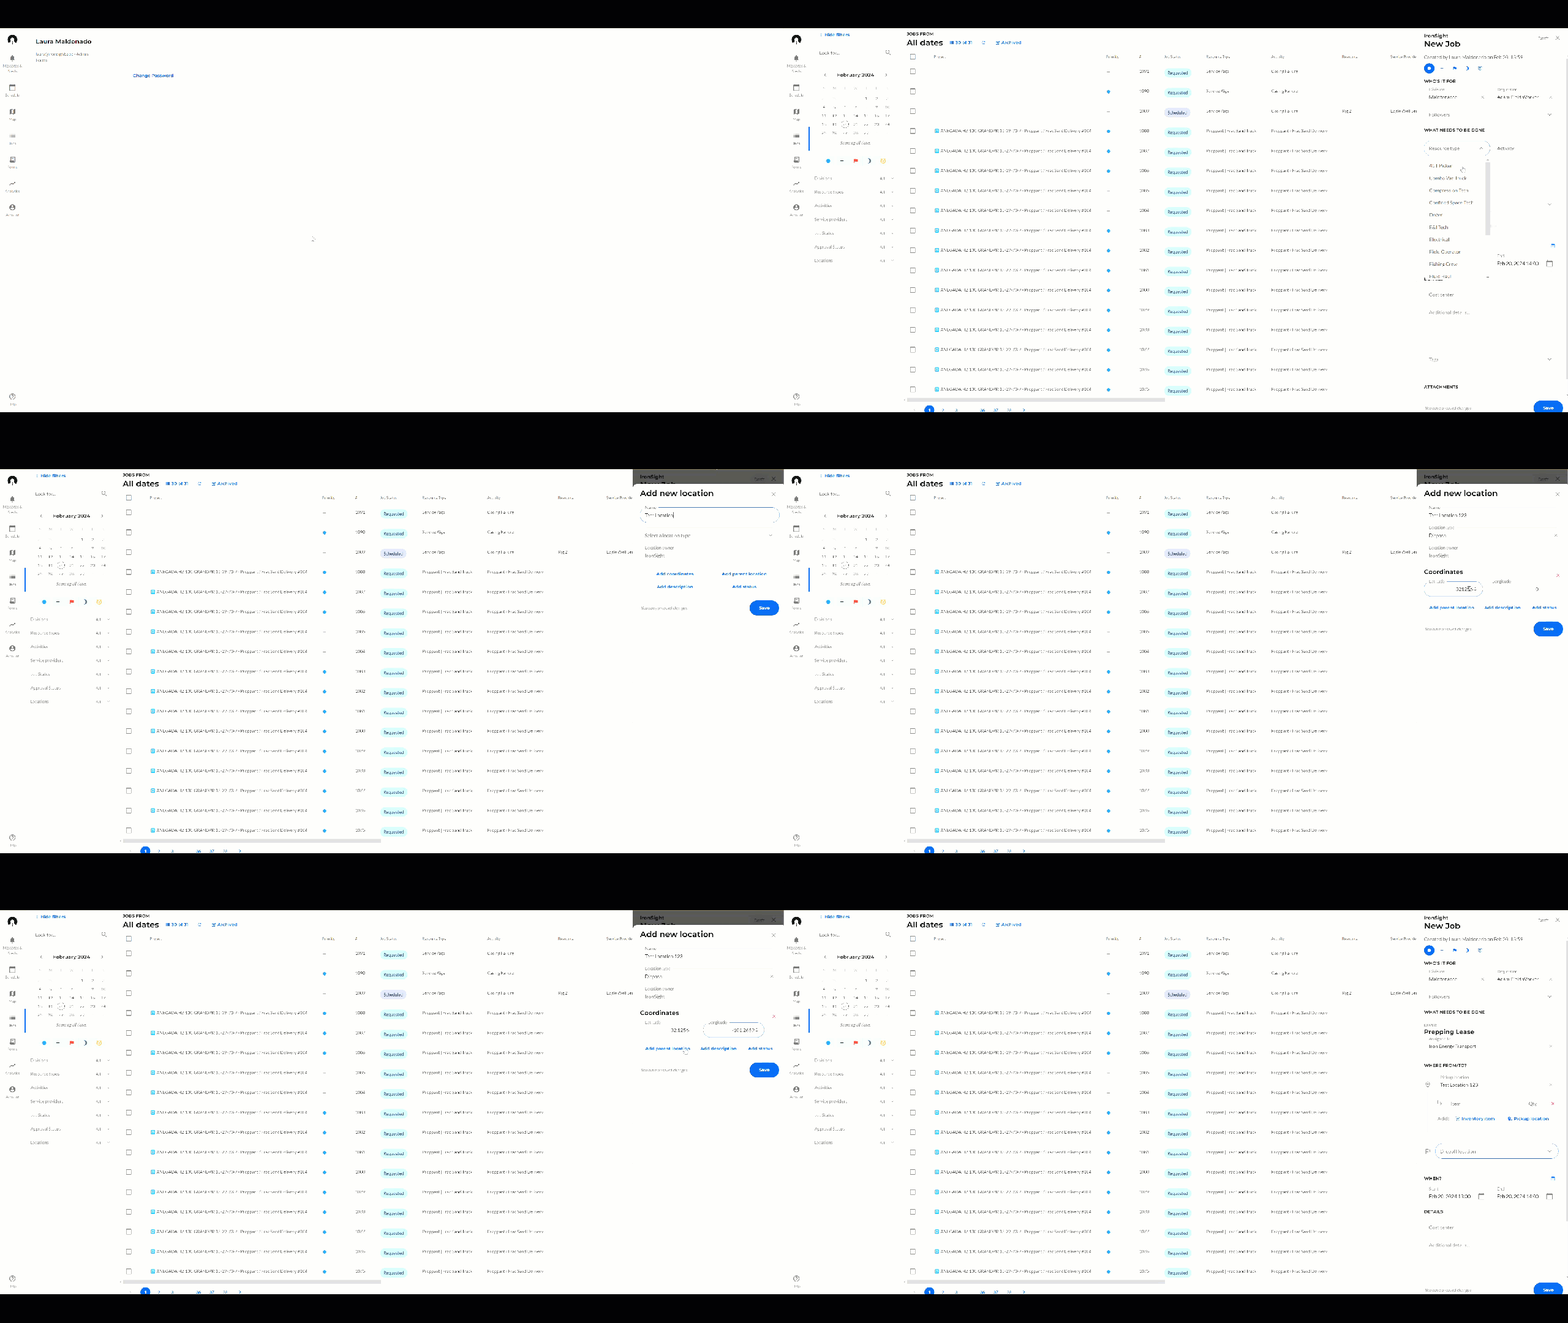
- Go to the "Schedule" or the "Jobs" tab
- Click on "+New Job" to create a job
- Fill out the job fields as usual
- When clicking on the Pickup location or the Destination fields, click on "+Add new location"
- Enter a Location Name
- Select Location Type.
- Click on "add coordinates" (Optional)
- Click on "Add parent location" (Optional)
- Click on "Add description" (Optional)
- Click on "Add status" (Optional)
- Click on "Add Tags" (Optional)
- Click on "Save"
