Table of Content
Creating a Job from Dispatch Hub
Creating a Job from Mobile App
Create a New Job from Schedule or Jobs view
a. Click on the Schedule or Jobs view.
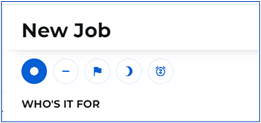
b. Click on New job.
c. Select your clients’ hub or create a new client, if not in dropdown (Applicable to service providers with the Pro plan only. If this does not apply to you, skip to step d)

- To create a new client from Dispatch Hub
Press the ‘Create new client’ option.
Enter name, short code and billing address (billing address field is optional)
Click Save.

d. Select job’s priority (optional):
- New (circle), unless a different tag is selected, the system will automatically default to it.
- Normal (line)
- High priority (flag)
- Deferred (moon)
- Filler (clock)
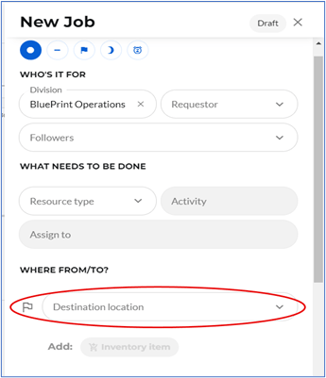
- Requestor: person requesting the job.
- Followers: people who will receive notifications about the status of the job.
- Resource Type: trade or truck needed to complete the job.
- Activity: what needs to be done.
- Assign to: select the unit or client the job is assigned to.
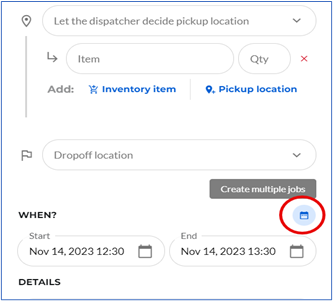
- Locations: sites where inventory needs to be picked-up and drop-off. If the location is not available in dropdown you can add it at that time.
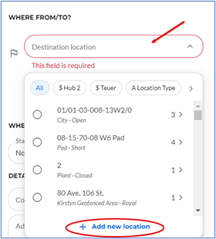
- To add a new location when creating a job
Important Note: Only admins can create locations. Coordinators can edit location status and description. Therefore, any coordinator that should be able to create new locations for jobs should be configured as admins. If you currently have an integration to bring locations into IronSight you may not want to create a new location directly into the system. Consult your CSM.
Important Note: When a location is created from the new job option, the coordinates are optional; however, if the coordinates are not provided, the location will not be visible on the Map and not editable to Service Providers.
-
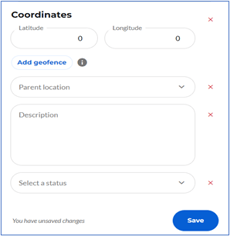
- Click on the destination location and select add New Location
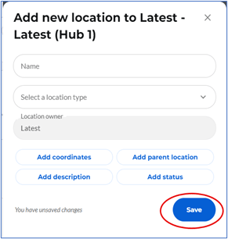
- Enter name and location type.
- Enter latitude and longitude, description, parent, and status. (Optional)
For Service Providers only - The owner should typically be the company that will use that location. Only add your own locations, when you truly own the location. E.g. your yards. Add midstream locations (SWD’s) as your customer since there is no way to add the actual midstream company yet.
-
- Click Save.
- Inventory Item: type of item that will be transported.
- Quantity: amount.
- Date and Time: select start and end date and time when the job is required to be completed.
*Use the Calendar button to create multiples of this job, if needed.
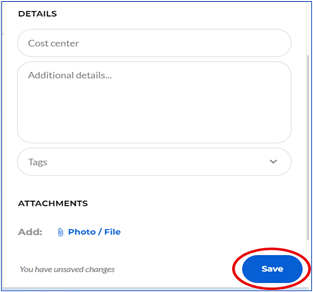
- Cost Center
- Additional Details (Optional): this field can be used to provide additional information about the job.
- Tags (Optional): use tags to categorize jobs.
- Attachments: Photo/File (Optional): add documents or pictures to the job, if needed.
- Click on Save.
Create a New Job from Map view
a. Find the location where you would like to create a job for. You can use the filters to easily find the location.
b. Click to open. You will be able to see all scheduled jobs for that location.
c. Hit "New job here".

d. Enter information and then Save.

How to Clone a job
A job can be cloned at any time regardless of the status of the job.
- If the job you would like to clone has not been completed, click on the job to open it, press the 3 dots on the bottom and select "Clone".
- Review the job information and make any necessary changes and click on Save.


- If the job you would like to clone has been completed, click on the job to open it and hit "Clone". Review information and click Save.

Creating a New Job from Mobile App
a. Log-in to IronSight app.
b. From the Jobs view, hit the plus sign to create a new job.
c. Select your clients’ hub or create a new client, if not in dropdown (Applicable to service providers with the Pro plan only)

d. Add all additional information for the job. By default, your name will appear as the requester, change it if needed.
e. Click on Continue to move forward to the next screen.
f. Review all the information and click on Submit.

